Glittery Easter Eggs

…just add food colouring to vinegar.

Try this!  Poke a small hole into each end of an egg.  Blow out the yolk…this is easier said than done, however, if you persevere, the results are well worth it!*  Wash off the empty eggshell and gently pat dry.  Using Children’s Thick White Craft Glue, paint the egg with glue.  Dip and roll the gluey egg into a bowl of coloured sparkle.  Let dry.  Even the Easter Bunny can’t get this kind of a result!

* A simpler version of this activity- Use plastic egg shaped containers.  Follow the steps, above.

* Take a Sharpie and print or hand write a word, phrase, names.  Adorable!

“Love you to the moon and back!”

Sweet “Tweets!”

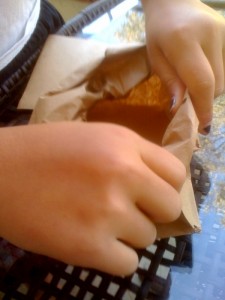
This is the cutest craft creation; perfect for the little to big ones in your house or classroom!  Create a paper bag “nest” to house your Easter treats.  Include a fluffy little bird or chick to complete the look!  We plan to have a “nest” full of Easter goodies beside every place setting at our table.  Here’s how to make your own little “nest” –

You will need

brown paper bags- lunch size or smaller

scissors* – *safety scissors for those wee, little ones

treats to place inside the paper bag “nest

First

* place a paper bag on the table

Cut approximately 1/2 to 3/4 off the top of the bag.  Save the cut top half of the bag to “shred” for “nest” filling.

First, cut across 1/2 to 3/4 from the top of the bag.


Next,

• carefully open the paper bag and fold the top edges down, roll, and fold a few more times

Gently roll the bag from the rim to the bottom.

Then,

• Scrunch the bottom corners in to make the little paper bag look “nest” like. Cut strips from the “left over” piece of bag.  This is a great scissor cutting exercise for children!  An option is to let the children tear and shred pieces of the bag.  Place these strips of bag into the paper nest for “nesting.”

Shred the left over “cut” piece of bag for nest filling.

Finally,

• Add some jellybeans or Easter eggs to the nest.  Place a small “chick” or “bird” into the paper “nest.”


Hoppy Easter to you and yours!

Glitter Stones

Leprechaun Treasure!

Your wee ones will delight in finding the perfect stones to transform into glitter gems!

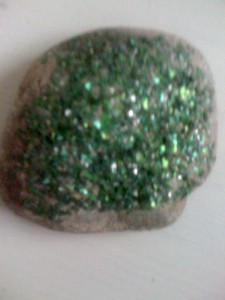
Here is a brilliant,  bedazzlingfun filled, simple, and inexpensive craft to complete with your little learners!  Search for small stones.  Try to find smooth surfaces, although it really doesn’t matter as any stone will do just fine.  Clean the stone.  Apply thick, white Children’s craft glue to the top and sides of the stone.  It helps to use a paintbrush and “paint” the glue all over the stone. Get out the glitter and shake away!  We used green and gold glitter to celebrate the upcoming, Saint Patrick’s Day!  Let the stones dry overnight.  The children love this activity and delight in hiding, finding, and displaying their sparkling creations!

Top ‘o The Mornin’!

Create a rainbow using pastels. Add a paper constructed leprechaun! Watch for the pot of gold!

Saint Patrick’s Day is just around the shamrock!  Pull out your green and keep an eye open for wee leprechauns!  Remember, if you catch a wee little trickster, do not blink when looking into the eyes!  Otherwise the wee one will escape!  May luck go with you!